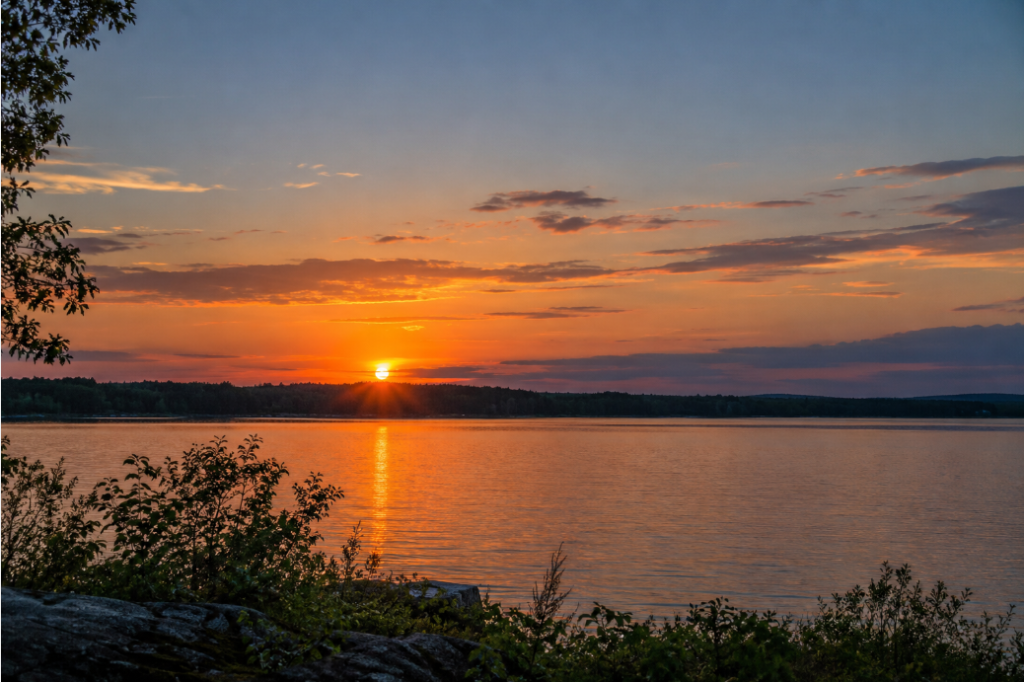
A wide sunset scene captures both the changing sky and the landscape around it.
Mastering Sunset Photography: Tips for Beginners & Beyond
The easiest way to take better sunset photos is to photograph the changing light rather than waiting for one perfect moment.
My approach: start before sunset, make several exposures, use foreground elements or silhouettes when they strengthen the scene, and keep photographing after the sun drops below the horizon.
How Do You Take Better Sunset Photos?
Get into a safe position, capture the overall scene before the light changes, expose for different parts of the sky, experiment with foreground elements and silhouettes, and continue photographing after sunset.
With a smartphone, I recommend taking three quick versions of the same scene: one with automatic exposure, one after tapping the brightest part of the sky, and one after tapping a darker area.
Sunsets are among the most photographed moments in travel, and it is easy to understand why.
Within minutes, a sky can change from pale gold to orange, pink, purple or deep blue, completely transforming an ordinary view.
I have never specifically set out to photograph a sunset.
Most of my sunset photographs happen because I notice beautiful light while traveling. I may be driving, walking or exploring a destination when the sky suddenly demands my attention.
That has taught me an important lesson: you do not need an elaborate plan or expensive equipment.
You need to notice the changing light, find a safe place to photograph it and start shooting before the moment disappears.
Sunset Photography at a Glance
Start Before the Best Sunset Color Appears
Sunset photography is really about photographing a sequence of changing light, not one specific second when the sun reaches the horizon.
If you are planning a sunset shoot, check the expected sunset time and try to arrive approximately 30–45 minutes early.
That gives you time to park, find a safe shooting location, look at the direction of the light and experiment with possible compositions before the colors begin changing quickly.
If the sunset catches you by surprise, start photographing as soon as you safely can.
Do not wait until you think the sky has reached its peak. A color, reflection or cloud pattern that looks ordinary now may be gone a minute later.
Photography tip: Take the wide establishing photograph first. Once you know you have captured the overall scene, start experimenting with closer views, foreground details, reflections, silhouettes and different exposures.
Be Ready—but Photograph Safely
When I notice a beautiful sunset unexpectedly, my first priority is not the photograph. It is finding a safe place to stop.
Because I rarely plan dedicated sunset shoots, staying ready matters more to me than carrying specialized equipment.
I regularly sort and download photographs from my phone so there is enough available storage when an unexpected opportunity appears.
It also helps to keep your phone charged and your camera easy to reach while traveling.
Before taking a smartphone photograph, quickly check the camera lens for fingerprints, dust or smudges. A dirty phone lens can create haze and reduce contrast, especially when you’re photographing directly toward a bright sky.
Never photograph while driving, stop in traffic or pull onto an unsafe shoulder because the sky is changing.
No sunset photograph is worth putting yourself or someone else at risk.
Try My Three-Shot Sunset Method
I photograph many sunsets with my phone using its automatic camera settings. One of the easiest ways I have found to deal with difficult sunset exposure is to take three quick photographs of the same scene.
Use Automatic Exposure
Take the first photograph exactly as the phone presents the scene. This gives you a useful middle version.
Tap the Brightest Part of the Sky
The phone will generally darken the exposure, which can help retain more color and detail in the brightest areas.
Tap a Darker Area
The phone may brighten the image and reveal more shadow detail, although the sky may become brighter as well.
You do not have to decide which one is best while the light is changing. Capture all three, continue photographing and compare them later.
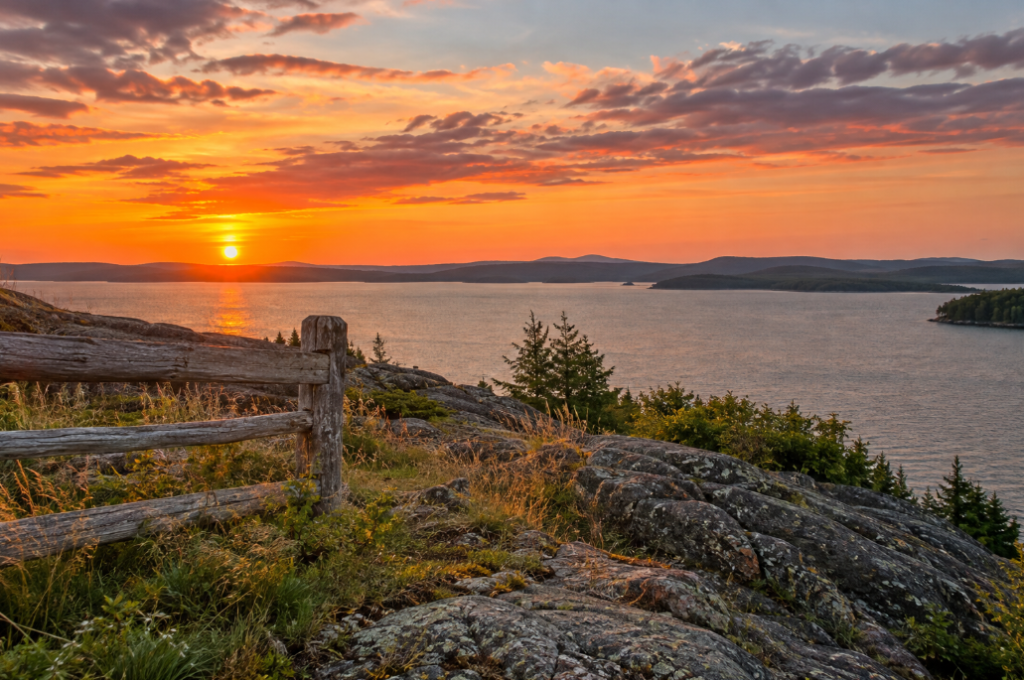
Foreground details can give a sunset photograph depth and help the image tell more of the story of the location.
Look Beyond the Sun for Better Sunset Photos
A sunset photograph does not need to be only a picture of the sun.
After capturing the overall view, I start looking around the scene.
Trees, water, shorelines, fences, buildings, architectural details, people and other objects can add depth and give the photograph a stronger sense of place.
Reflections can double the color in a scene.
Dark foreground shapes can become dramatic silhouettes.
A person or recognizable landmark can also provide scale.
Three Simple Ways to Strengthen a Sunset Composition
Use Foreground Elements for Depth
Including something close to the camera can help lead the viewer from the foreground into the sunset.
Rocks, grasses, flowers, fences, pathways and water are all possibilities.
The foreground does not need to dominate the photograph. Its job is to support the sky and add another visual layer.
Use Silhouettes When the Foreground Is Already Dark
Do not assume every shadow needs to be brightened.
When the sky is the strongest part of the photograph, a dark tree line, building, person or palm tree can create a clean silhouette that emphasizes the color behind it.
Try Both Wide and Closer Compositions
I usually photograph the entire scene first and then look for alternate compositions.
A wider view may tell the complete story while a closer composition may emphasize cloud texture, color or a particular foreground subject.
Watch the Horizon
A beautiful sky cannot completely rescue a photograph with an obviously crooked horizon.
Use your phone’s grid when helpful, and decide whether the stronger part of the photograph is above or below the horizon before placing it in the frame.
For more ideas about seeing familiar scenes differently, read Reflecting on Perspective: Finding the Unexpected Through the Lens.
How to Photograph a Sunset With a Smartphone
You do not need a DSLR or mirrorless camera to photograph a beautiful sunset.
A smartphone is often the camera I have available when an unexpected sunset appears.
For beginners, concentrate on a few simple things rather than trying to control every possible setting.
Clean the Lens
Fingerprints are especially noticeable when photographing bright light.
Use the Grid
It can help straighten horizons and organize the composition.
Tap Different Areas
This changes where the phone measures focus and exposure.
Make Several Exposures
Sunset brightness changes quickly, so one frame may not represent the scene as well as another made seconds later.
Hold the Phone Steady
As the light fades, stability becomes increasingly important.
Avoid Heavy Digital Zoom
When possible, photograph a wider image and crop later rather than sacrificing image quality.
Where Should You Tap on Your Phone?
There is no single correct spot.
Tap the bright sky when you want to preserve more highlight detail.
Tap a darker area when you want to reveal more foreground detail.
Then compare both with the phone’s automatic exposure.
My preferred approach is to take all three versions before the light changes.
Use the Camera You Already Have
You do not need to understand manual camera settings before you begin photographing sunsets.
When I use my Nikon D7500, I may use automatic settings depending on the situation.
Many of my sunset photographs, however, are taken with my phone because that is often the camera already in my hand when the light appears.
For a beginner, getting the photograph matters more than becoming overwhelmed by technical settings.
Start with the camera you know how to use. Hold it steady, watch the composition, experiment with exposure and make several photographs while the conditions are changing.
If you later want greater control over shutter speed, aperture, ISO or RAW files, you can build those skills over time.
Want to Improve More Than Sunset Photography?
Sunsets are one specific lighting situation.
For guidance on composition, equipment, light, storytelling and photographing different subjects while traveling, visit my complete Travel Photography Tips guide.
Don’t Put the Camera Away When the Sun Disappears
Sunset photography does not necessarily end when the sun drops below the horizon.
Keep watching the sky.
The remaining light can produce deeper oranges, pinks, purples and blues, while clouds may continue reflecting color above the horizon.
As the foreground gets darker, silhouettes can also become more dramatic.
Take several photographs as the colors develop.
Your favorite image may come from the afterglow rather than the moment when the sun itself was visible.
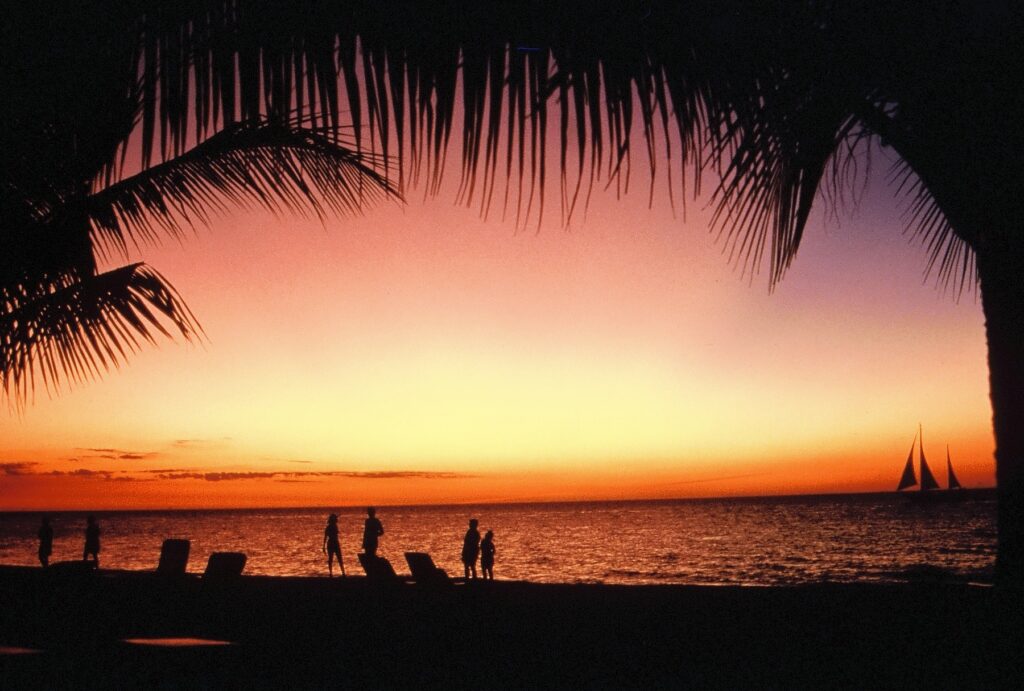
Silhouettes can become an important part of the composition as the foreground darkens and the remaining sunset color becomes more prominent.
Stop Waiting for the Perfect Photograph
One of the easiest ways to miss a sunset is to spend too long trying to create one perfect image.
Digital photography gives you room to experiment.
Take more photographs than you think you will need and review them later.
Change the exposure. Move a few steps. Try a wide view. Create a vertical composition. Include a foreground subject. Photograph a silhouette.
Then return to the overall scene and see how the light has changed.
Capture first and refine as you go.
That willingness to photograph what catches your attention is also at the heart of Take the Picture—Even If No One Else Understands Why.
Edit Sunset Photos Without Making Them Look Artificial
My approach to sunset editing is simple: I want the finished photograph to look like the scene I remember seeing.
I generally do very little to my sunset photographs beyond correcting a distracting crop when necessary.
Sunsets already contain extraordinary natural color.
A well-exposed image may not need heavy saturation, dramatic filters or major color changes.
Overediting can quickly turn believable sunset color into something artificial and remove the atmosphere that made the scene worth photographing in the first place.
Review the image carefully. Straighten the horizon if necessary. Crop distracting edges. Make modest exposure or color corrections when they genuinely improve the photograph, but allow the natural sunset to do most of the work.
Common Sunset Photography Mistakes
Many sunset photography problems are easy to avoid once you know what to watch for.
Arriving Too Late
Begin before the sun reaches the horizon so you can watch the light develop.
Photographing Only the Sun
Look for foreground elements, reflections, silhouettes and details that tell more of the story.
Taking Only One Exposure
Bright skies and dark foregrounds can be difficult for a camera to balance, so experiment.
Ignoring a Crooked Horizon
Use the grid and check horizontal lines before moving on.
Leaving Immediately After Sunset
Rich afterglow can appear after the sun disappears.
Using a Dirty Phone Lens
Fingerprints can soften detail and create haze around bright light.
Waiting for One Perfect Photograph
Sunset conditions change too quickly. Capture the scene first and experiment while you have the opportunity.
Overediting the Color
A believable sunset is usually more powerful than one pushed far beyond what the scene actually looked like.
Quick Sunset Photography Checklist
Sunset Photography FAQ
How do beginners take good sunset photos?
Begin by photographing the overall scene before the light changes. Keep the horizon straight, experiment with several exposures, look for foreground subjects or silhouettes and continue photographing after the sun drops below the horizon. You do not need advanced manual settings to get started.
What is the best time to photograph a sunset?
Plan to be in position before the scheduled sunset rather than arriving exactly at sunset. About 30–45 minutes early gives you time to find a composition and watch the light develop. Continue photographing after the sun disappears because the sky may keep changing.
How do you expose a sunset without losing the color in the sky?
On a smartphone, tap a bright part of the sky and take a photograph. The phone will usually reduce the exposure, which can preserve more highlight detail and color. I also recommend taking an automatic exposure and a version exposed for a darker part of the scene so you can compare all three later.
Should you focus on the sun when taking sunset photos?
Not necessarily. The sun may be only one element of the photograph. Trees, water, buildings, reflections, silhouettes, clouds or foreground details can create a stronger composition and help establish a sense of place.
Do you need a tripod for sunset photography?
No. A tripod can be useful as the light becomes very low, especially with cameras using slower shutter speeds, but it is not required for most casual sunset photography. Many of my sunset photographs are made handheld with a smartphone.
Why should you keep taking pictures after sunset?
The sky can continue changing after the sun is below the horizon. Clouds may pick up additional color, cooler blues and purples may appear, and darker foregrounds can create stronger silhouettes.
How much should you edit sunset photos?
Edit only as much as the photograph needs. Straightening, cropping and modest exposure or color corrections can help, but heavy saturation and dramatic filters can make natural sunset colors look unrealistic. My preference is to preserve the scene as it actually appeared.
Take Better Travel Photos With the Camera You Already Carry
Sunset photography is one part of becoming a stronger travel photographer.
My Travel Photography Tips guide covers light, composition, equipment, creative techniques and specific photographic situations you may encounter on your trips.
Keep Chasing the Light
Sunsets do not wait for perfect plans, perfect equipment or perfect camera settings.
Notice the light. Find a safe place to stop. Capture the overall scene. Experiment with exposure and composition while the colors are still changing.
Then stay a little longer to see what happens after the sun disappears.
Your favorite image may be the first photograph you took, the final afterglow or a composition you noticed only after looking beyond the sun itself.
The goal is not to manufacture a perfect sunset. It is to recognize the moment, photograph it thoughtfully and preserve the scene as it truly appeared.
Keep chasing the light,
Angela 🌞📷
About Angela
Angela Addington is the travel photographer and writer behind Lenses & Latitudes. She shares firsthand destination guidance and practical photography advice for independent and solo travelers, women over 50, road-trippers and weekend explorers. Learn more about Angela.