
How to Take Better Aquarium Photos
Dim light, reflective glass and constantly moving animals make aquariums challenging places to photograph—but a few simple techniques can make a huge difference.
How Do You Take Good Photos at an Aquarium?
Turn off your flash, get close to the aquarium glass to reduce reflections, keep your camera or phone as perpendicular to the glass as possible, and use a faster shutter speed or burst shooting to capture moving fish.
In low light, increase ISO when necessary rather than relying on flash, then watch the animals for a few moments so you can anticipate where they will move next.
There’s something magical about stepping into an aquarium. The deep blues, the slow sway of marine life, and the vibrant colors create a dreamlike setting that feels worlds away from everyday life. For travelers and photographers alike, aquariums offer a unique opportunity to capture the beauty of the ocean—without ever getting wet.
They can also be surprisingly difficult places to photograph. Dim lighting, reflective glass, constantly moving subjects and dramatic differences between bright tanks and dark exhibit spaces can all make it harder to create the photograph you pictured in your head.
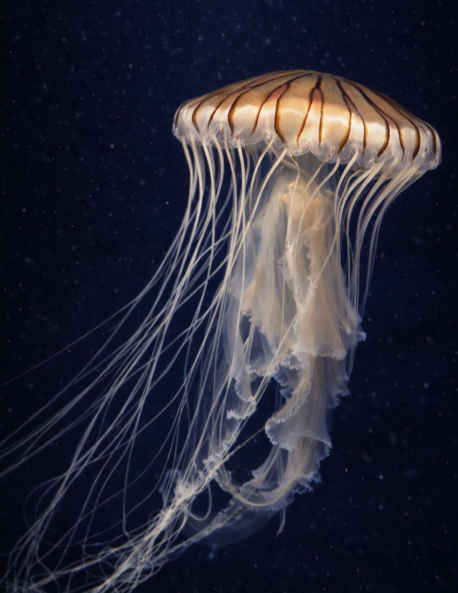
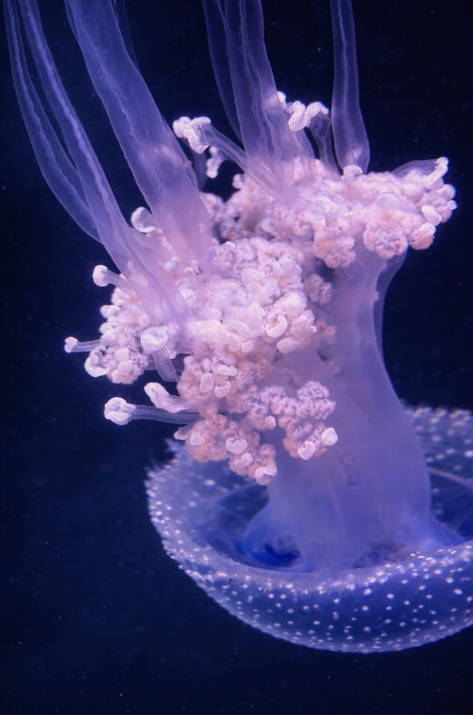
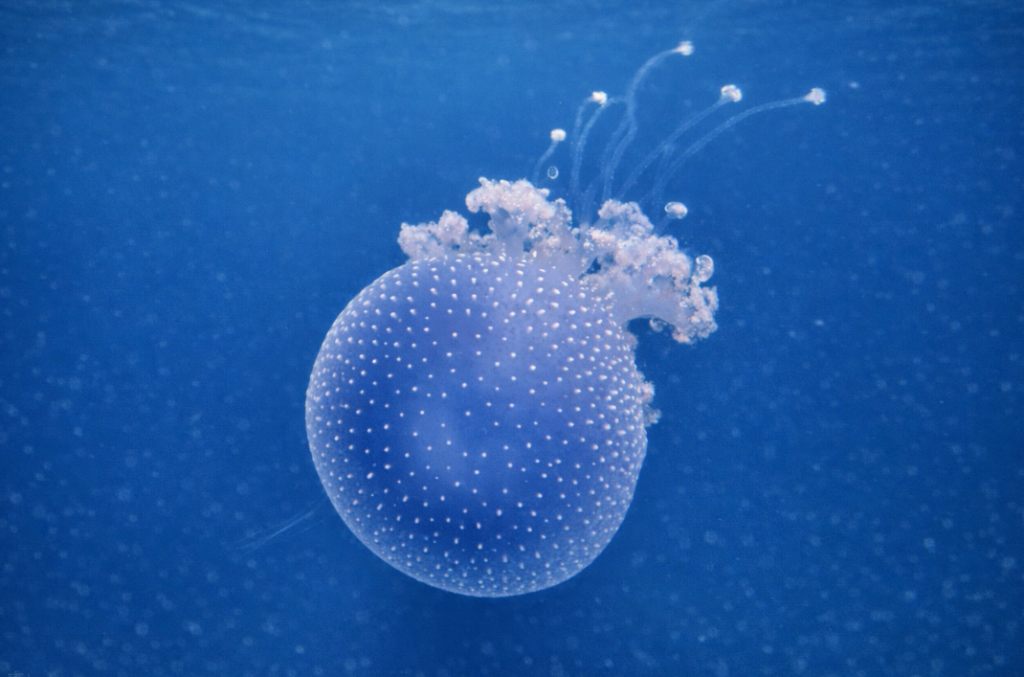
I’ve photographed aquarium subjects including jellyfish and other marine life, and those conditions have made patience just as important as camera settings. The photographs throughout this guide show the kind of color, movement and low-light conditions you may encounter while photographing inside an aquarium.
With a few simple adjustments, though, you can create sharp, colorful photographs with a DSLR, mirrorless camera or smartphone. Here’s how to approach aquarium photography while keeping the experience—and the animals—at the center of your visit.
How Do You Photograph Through Aquarium Glass Without Glare?
The easiest way to reduce glare is to move your lens close to the aquarium glass, keep it as perpendicular to the surface as possible, turn off your flash and block stray light from behind or beside you.
Overhead lights, nearby displays, bright clothing and even your own reflection can appear in the glass. Reducing the amount of space between your lens and the viewing surface limits the light that can reflect back into the photograph.
If aquarium rules allow it, move the front of your camera or phone very close to the glass. Avoid pressing hard camera equipment directly against the surface where it could scratch the glass or acrylic. A soft rubber lens hood can be especially useful with a camera because it can help block surrounding light while protecting the viewing surface.
Rather than dramatically angling the camera to eliminate a reflection, try changing your own position or blocking the unwanted light with your hand or body. Thick aquarium glass and acrylic can introduce refraction and colored ghosting when photographed at an angle, so keeping the lens closer to perpendicular generally produces cleaner results.
Dark clothing can also help because it is less likely to create a bright reflection in the glass behind your subject.
Nikon offers a helpful guide to photographing at an aquarium with more detail on reflections, refraction and exposure through glass.
What Camera Settings Work Best for Aquarium Photography?
For moving aquarium subjects, start with a shutter speed around 1/125 second or faster, use a relatively open aperture when possible and raise your ISO enough to maintain a usable shutter speed in the dim environment. Faster-moving fish may require an even faster shutter speed.
There is no single perfect aquarium setting because illumination can change dramatically from one exhibit to another. A brightly lit tropical tank may require very different settings from a dark jellyfish display.
A Simple Starting Point for Camera Users
Do not worry if you need a higher ISO than you normally use. A slightly noisy photograph with a sharp subject is often more useful than a cleaner image in which the fish is completely blurred by motion.
How Do You Photograph Moving Fish?
Instead of following a fish continuously with your camera, watch its movement first, identify any pattern it repeats and prepare your composition before it swims into the part of the tank you want to photograph.
Fish rarely sit still—and that’s part of their beauty. A sufficiently fast shutter speed helps freeze their movement so the image looks intentional rather than accidentally blurred.
If you’re using a smartphone, take several photographs rather than relying on one frame. Burst shooting or Live Photos, when available on your phone, can give you several moments to review afterward and increase the chance that one photograph catches the subject clearly.
Patience is one of the most useful aquarium photography tools. Many fish swim in loops or return to similar parts of a tank. Watch them for a moment before you begin shooting. Once you notice their rhythm, you can anticipate the photograph instead of constantly reacting to it.
Also look for contrast. A brightly colored fish against a darker or less cluttered section of the tank will usually stand out more clearly than the same fish surrounded by competing shapes and colors.
Can You Take Good Aquarium Photos With a Smartphone?
Yes. A smartphone can produce excellent aquarium photographs if you turn off the flash, keep the lens clean, move close to the glass, tap your subject to focus and take several frames when marine life is moving.
How Do You Take a Selfie in Front of a Large Aquarium Tank?
Stand several feet in front of the tank instead of directly against it, avoid strong overhead lighting on your face and expose the photograph so both you and the illuminated tank remain visible.
A large aquarium display can make a spectacular travel-photo background, but the difference between the bright tank and the dark exhibit space can make exposure challenging.
Give the scene some depth by leaving space between yourself and the tank. Then look at where the strongest overhead lights are located and move away from harsh pools of light when possible.
Instead of automatically centering yourself, try standing slightly to one side and allowing the aquarium to fill the rest of the frame. This keeps the photograph focused on both the traveler and the experience.
Take several photographs. Fish will move, light will shift and one frame may create a much stronger background than the one taken just before it.
Should You Use Flash for Aquarium Photography?
Usually, no. Flash can reflect directly off aquarium glass and overwhelm the scene, and some aquariums prohibit flash photography around certain animals or exhibits.
Turn the flash off before entering an exhibit and rely on the available tank lighting, a wider aperture, higher ISO or your phone’s normal low-light capabilities instead.
Photography policies vary by facility and sometimes by exhibit, so check the aquarium’s current photography rules before your visit and always follow posted instructions from staff.
Embrace Aquarium Light, Color and Movement
Aquariums aren’t meant to feel perfectly lit or static—and your photographs don’t need to make them look that way. Lean into the deep blues, soft glow and sense of movement that make the environment distinctive.
A graceful jellyfish drifting through blue water may need a completely different composition from a brightly colored reef fish moving quickly across a busy tank. Instead of trying to make every photograph look the same, use the character of each exhibit as part of the image.
The goal is not simply to document what animal was inside the tank. Look for photographs that preserve what the experience felt like—the color, scale, movement, quiet or sense of discovery that caught your attention in the first place.
What Should You Bring for Aquarium Photography?
You do not need a large photography kit for an aquarium visit. A few simple preparations can make photographing in low light much easier.
Quick Aquarium Photography Checklist
Aquarium Photography FAQ
How do you stop reflections when photographing aquarium glass?
Move your lens close to the glass, turn off the flash, keep the camera approximately perpendicular to the viewing surface and block light coming from behind or beside you. Dark clothing can also make your own reflection less noticeable.
What shutter speed should you use for aquarium photography?
Around 1/125 second is a useful starting point for many aquarium subjects, but faster fish may require a faster shutter speed. Increase ISO when necessary so you can maintain enough shutter speed to reduce motion blur.
Can you use flash photography in an aquarium?
Do not assume that you can. Flash creates reflections in aquarium glass, and some facilities prohibit it around animals or exhibits. Turn the flash off by default and check the photography policy of the aquarium you are visiting.
Why are my aquarium photographs blurry?
Blur usually comes from a combination of low light, a slow shutter speed, moving animals or camera movement. Use a faster shutter speed, raise ISO when needed, steady the camera and take several frames as the subject moves through the tank.
Let the Aquarium Still Feel Like an Aquarium
Photographing an aquarium is a blend of patience, observation, creativity and a little technical know-how. Minimize reflections, give yourself enough shutter speed for moving subjects and spend time watching the animals before trying to photograph them.
Just as importantly, allow the aquarium to look like an aquarium. The deep blues, unusual lighting, silhouettes and movement are part of the experience rather than problems that always need to be eliminated.
At Lenses & Latitudes, it’s all about seeing the world and framing the adventure. Sometimes that means photographing a sweeping landscape, and sometimes it means waiting beside an aquarium tank for a jellyfish to drift into exactly the right place.
So next time you visit an aquarium, slow down, observe the details and experiment. You might just walk away with some of your favorite photographs yet.
About Angela
Angela Addington is the travel photographer and writer behind Lenses & Latitudes. She shares firsthand destination guidance and practical photography advice for independent and solo travelers, women over 50, road-trippers and weekend explorers. Learn more about Angela.

Pingback: How to Photograph Butterflies: 10 Easy Tips for Beginners - Lenses and Latitudes